Creating an Alert Category
You can create or modify the alert categories that appear on the Alert page. You can either add categories directly into the database, or create a workspace that enables users to add categories. The Alert Category workspace is not provided in the default version.
| 1. | Log into the Service Desk Console as an administrator and open the AlertCategory business object. |
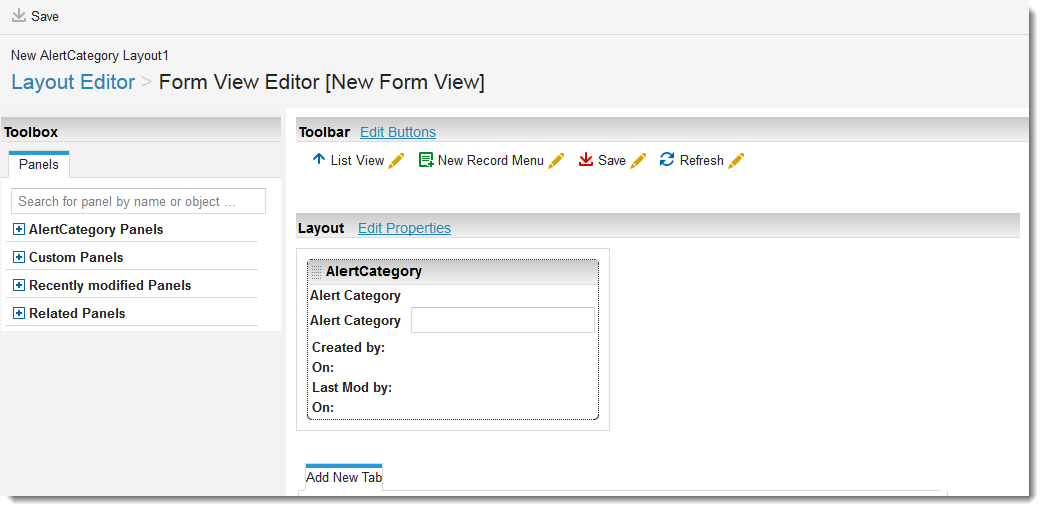
| 2. | Create a new layout called AlertCategory. This creates the workspace. |
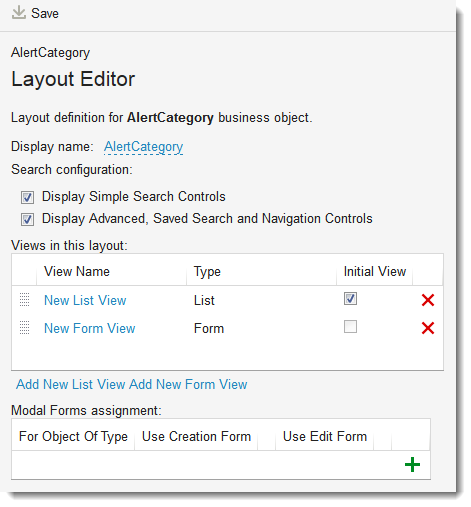
Layout Editor - New Form View - AlertCategory
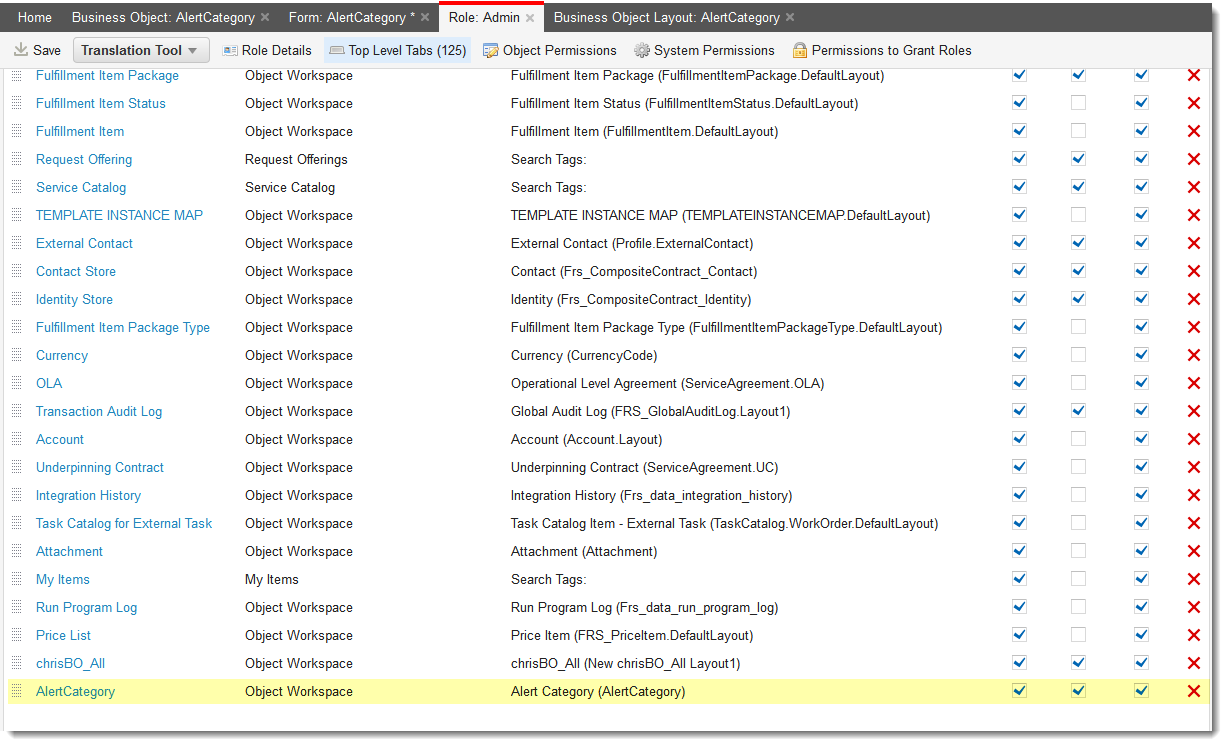
| 3. | Open the Role workspace, and add the layout to the Top Level Tab of the administrator and any other role that you want to provide category privileges. This reveals the workspace to the roles you want. |
Assigning a Role to AlertCategory
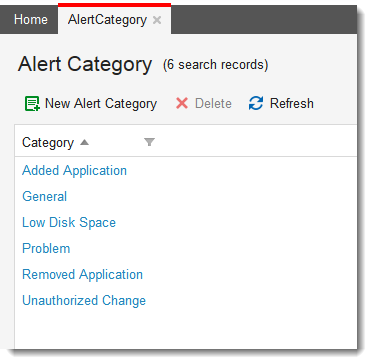
| 4. | In the Service Desk Console, refresh the browser screen, then open the AlertCategory (the one that you just created) workspace. The list of current categories appear. |
| 5. | Click New Alert Category, then enter the category that you want into the field. |
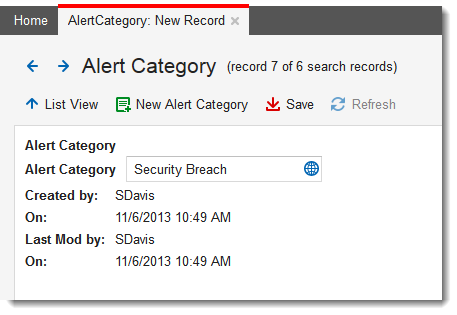
| 6. |
Click Save |
| 7. | Click List View to ensure that your category is added to the list. |
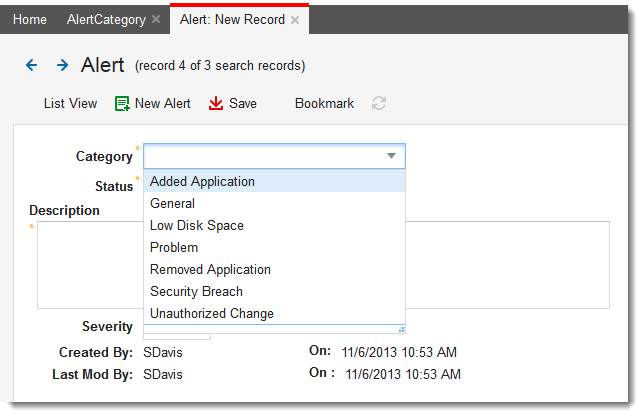
When users create a new alert, they can choose the new alert category.
Choosing a Category in an Alert