Configuring Categories
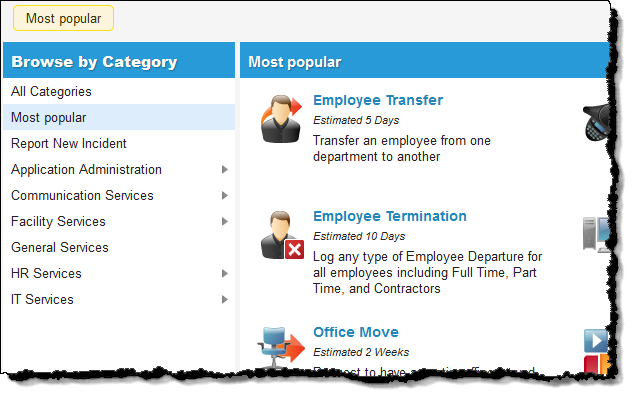
When creating a request offering, you assign it to a category. When users view the Service Catalog, they can browse services offered according to this category.
Service Catalog
You can create your own categories to fit your organization.
 Creating Request Offering Categories
|
1.
|
Log into the Service Desk Console as a service owner or administrator, and open the Request Offerings workspace. The Define Request Offering page appears. |
|
2.
|
Next to the Category field, click Edit  . The Categories window appears. . The Categories window appears. |
|
3.
|
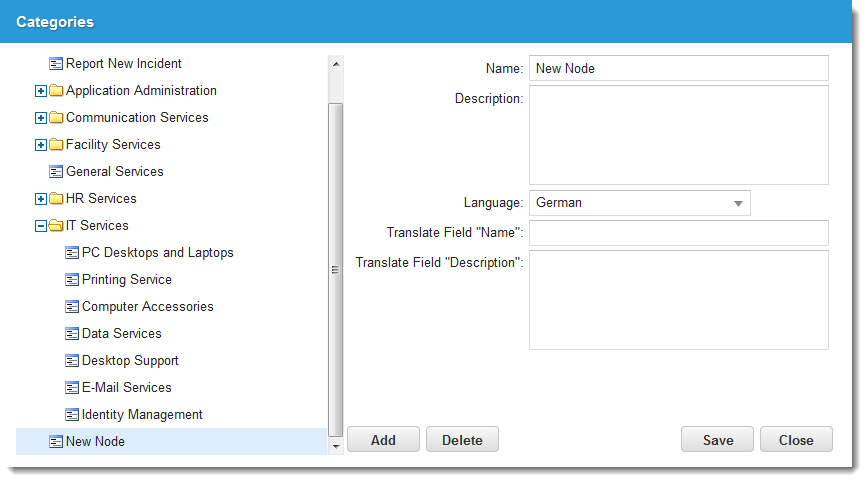
Choose Categories or one of the default categories to create a sub-category, then click Add. A New Node category appears. |
New Node Category
|
4.
|
Modify the name and enter a description. |
|
5.
|
Click Save, then click Close. |
The category now appears on the category list.
Translating Request Offering Categories
|
1.
|
Log into the Service Desk Console as a service owner or administrator, and open the Request Offerings workspace. The Define Request Offering page appears. |
|
2.
|
Next to the Category field, click Edit . The Categories window appears. |
|
3.
|
Select the item to translate, then from the Language field, choose a language. |
Translate Request Offering Categories
|
4.
|
Enter a name in the Translate Field "Name" field and a description in the Translate Field "Description" field in the desired language. |
|
5.
|
Click Save, then click Close. |
When the user views the form in the selected language, the translated values appear.
Deleting a Category
|
1.
|
Log into the Service Desk Console as a service owner or administrator, and open the Request Offerings workspace. The Define Request Offering page appears. |
|
2.
|
Next to the Category field, click Edit . The Categories window appears. |
|
3.
|
Select the category you want to remove, then click Delete. The Delete Confirmation window appears. |
The category no longer appears on the list.