Configuring Related Items Search
This topic describes how to configure related items search for Self Service users.
Determine the Layout Used for Self Service My Items
Before you begin, determine which layout is being used for Self Service My Items by doing the following:
|
1.
|
From the Configuration Console, go to Configure > Users and Permissions > Roles and Permissions. The roles list appears. |
|
2.
|
Click Self Service. The Self Service page appears. |
|
3.
|
Select Top Level Tabs. |
|
4.
|
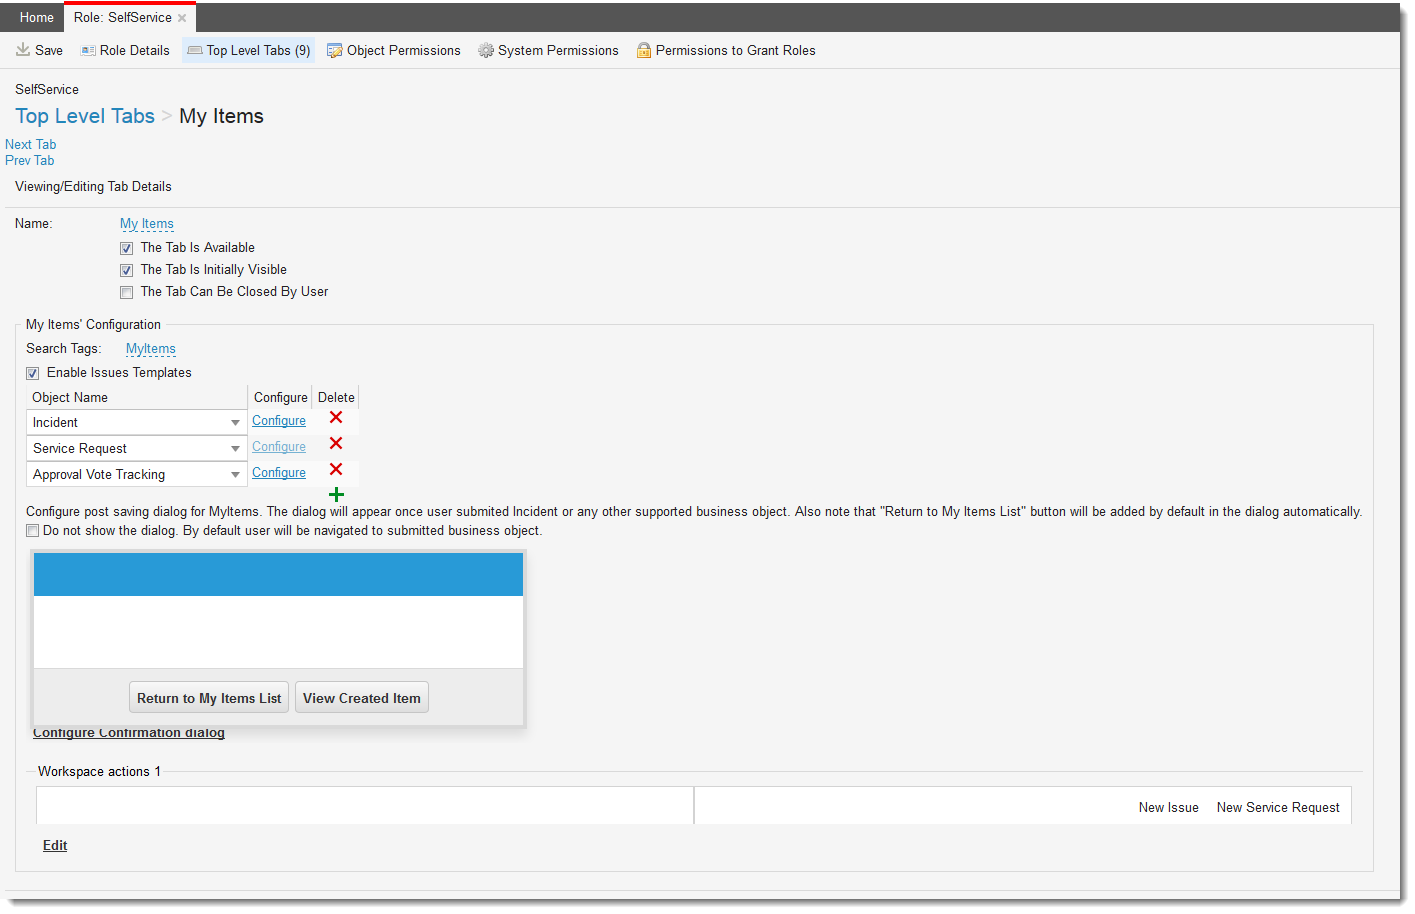
From the list of tabs, click My Items. |
My Items
|
5.
|
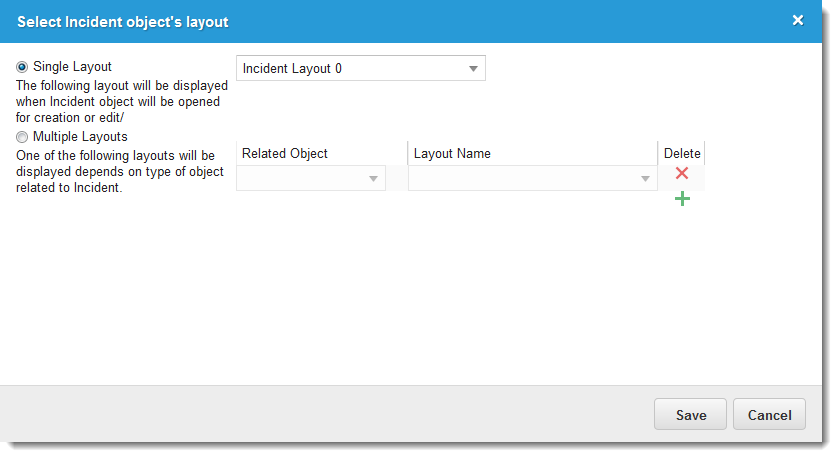
Next to the Incident object, click Configure. The Select Incident object's layout window appears showing which layout is being used. In this example, it shows Incident Layout 0. |
Incident Layout
Configure Object Matching for the Layout Used for Self Service My Items
|
1.
|
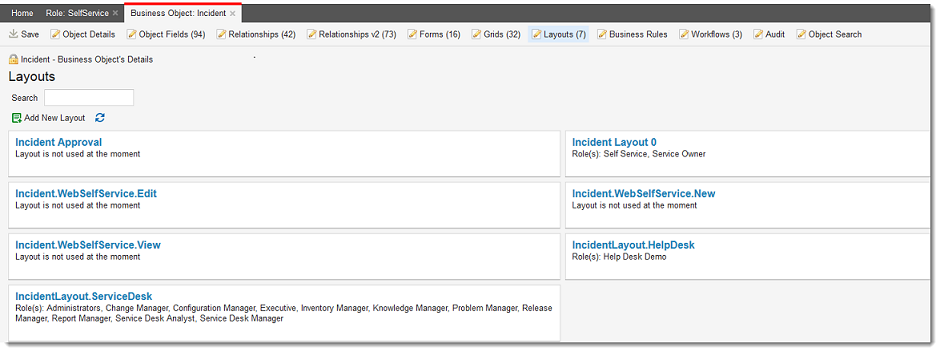
Open the layout editor for the layout that is used for Self Service My Items. In this example, from the Configuration Console, go to Build > Business Objects. Click Incident. |
|
2.
|
Select Layouts. Your layout should be listed. |
Layouts
|
3.
|
Click the name of your layout to open it. In this example, click Incident Layout 0. The Layout Editor opens. |
|
4.
|
Click formView to open the form view of the layout. |
|
5.
|
Check Enable Matching panel. The Incident Matching window appears. |
|
6.
|
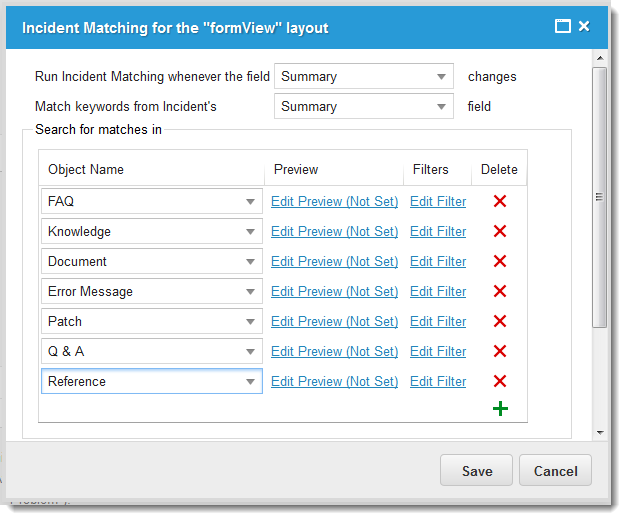
Enter information into the following fields: |
| Run Incident Matching |
The field on which you want to run incident matching. Choose from the drop-down list. |
| Match keywords from Incident |
The field on which you want to match keywords. Choose from the drop-down list. |
| Object Name |
The name of the business object for which you want to enable object matching. Choose from the drop-down list. |
|
7.
|
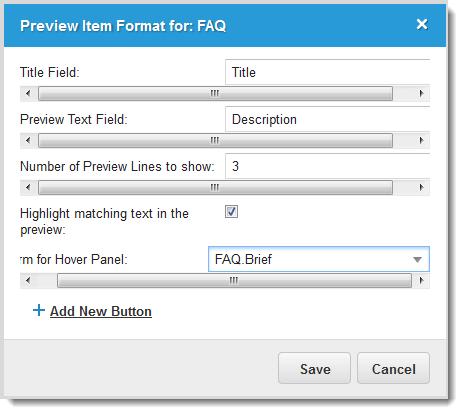
Click Edit Preview (Not Set) to set the preview format. |
Edit Preview
|
8.
|
Click  Add Add  and repeat this procedure to create more object names. In the example below, the knowledge, document, error message, patch, Q & A, and reference objects were created. and repeat this procedure to create more object names. In the example below, the knowledge, document, error message, patch, Q & A, and reference objects were created. |
Creating Object Names
|
9.
|
Click Add New Button. The Create new button window appears. |
|
10.
|
Format the buttons as needed. For example: |
- In the button label field, enter Resolve.
- CheckLink matched FAQ with main incident #.
- Click Add Field to add the fields that you want to update, such as owner, category, status, and service.
|
11.
|
Assign the proper values for service and category, for all six of the available business objects for FRS_Knowledge, in the Object Matching definition for Self Service. |
Once these values have been updated, you can save the incident record from Self Service.